Lazer cut the body :
Note :
Those files are for 5mm thick plywood and for 7inch screen.
If you use 10inch screen change "7Pouces" below by "10Pouces" we will see differences at the end of this document .
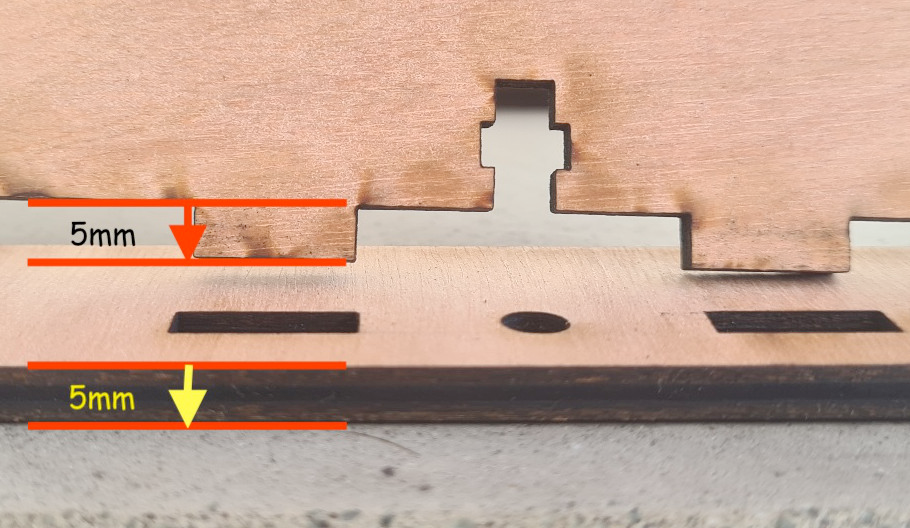
If you use different thick than 5mm you will need to modify the plans slightly to modify the length of the lugs.
Go to : https://github.com/TiBillet/DIY-point-of-sale-hardware/tree/main
You can find :
- Plans repository to see the dimensions used and reproduce if necessary in your CAD software .
- Freecad repository to modify then with Freecad files to modify if you need .
- dxf_files repository to modify then with another CAD software if you need .
- lightburn repository to send then directly to your lazer cutting machine with lightburn.
- svg_files If you use another cutting software than LightBurn.
NOTE : you need to cut 2X sides , if you are using connectors for the network and power supply, make holes to the size of your connectors on one side.
3D-print accessories :
This step is optional, but strongly recommended.
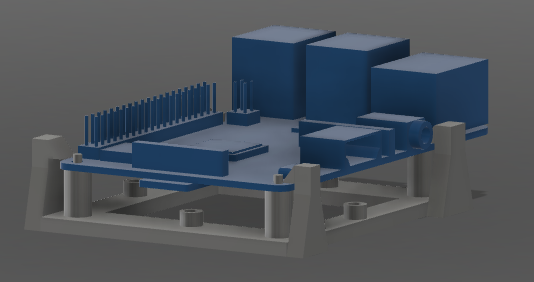
It will allow you to have a support for the Raspberry. This can be fixed to the wood directly inside the case, but this does not facilitate maintenance or cooling, and there is a risk of scratching the soldering.
SupportPi3.mp4

In addition, you can use the smallest screws, which are fairly easy to find in the main DIY shops (the minimum size is usually 10mm). you will have spacers to prevent the screws from passing through the plywood .
Download the STL files from 3D-print-accessories repository . Open the files in cura (or another slicer) and send them to your 3D printer.
